














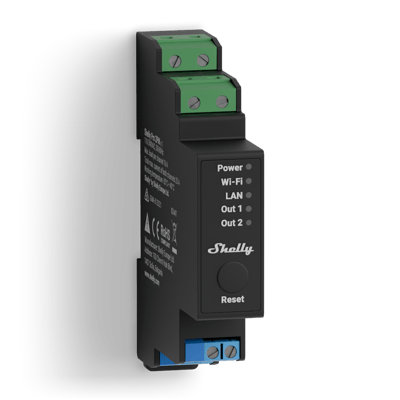
Relays Shelly wiring diagrams
Shelly Pro 2PM wiring diagram
How to wire a Shelly Pro 2PM in the switchboard to meter two appliances, or to drive a roller shutter or awning in cover mode.
Wiring diagrams
230 V~ 50 HzShelly Pro 2PM
Circuit overview
1Appliance
Active (supply)Neutral / 0 VSwitched load
In Australia, fixed 230 V wiring is licensed-electrician work. Use these diagrams to plan the job and brief your electrician.
Showing the whole circuit
Every job, terminal by terminal
-
Meter an appliance
One measured circuit on channel 1, with a second channel spare
The relay sits on a DIN rail in the switchboard. L and N power the unit, the active also feeds relay 1 on I1, and O1 carries it out to the appliance while the relay reports its live power draw and energy use in the app. Channel 2, on I2 and O2, can meter a second appliance the same way. Up to 16 A a channel and 25 A in total; a pump or other motor needs an RC snubber across the load.
Terminals for meter an appliance on the Shelly Pro 2PM Terminal What it does here O1 The metered appliance, up to 16 A (a motor needs an RC snubber) I1 Active in to relay 1 L 230 V active in, powering the unit N Neutral in SW1 Switch or button input for channel 1 O2 Channel 2 output, for a second appliance I2 Channel 2 relay input SW2 Switch or button input for channel 2 Supply: 230 V~ 50 Hz
-
Drive a roller shutter or awning
Cover mode from the switchboard — one motor, two directions
The relay sits on a DIN rail in the switchboard. In cover mode it drives the motor one way at a time: the active feeds both relays on I1 and I2, O1 and O2 each feed one winding, and the motor's common returns to neutral. Shelly's diagram adds an RC snubber across each winding, which is one for your electrician. If the motor runs the wrong way, turn on Reverse directions before calibrating. SW1 and SW2 take optional open and close buttons. Use a motor with its limit switches set before connecting it.
Terminals for drive a roller shutter or awning on the Shelly Pro 2PM Terminal What it does here O1 One motor winding O2 The other motor winding I1 Active in to relay 1 I2 Active in to relay 2 N Neutral in, also the motor's common return L 230 V active in, powering the unit SW1 Optional open button SW2 Optional close button Supply: 230 V~ 50 Hz
More wiring diagrams
Still need a hand?
We answer most messages within one business day. If your question is about an existing order, have your order number ready. It speeds things up.
Contact us