















Relays Shelly wiring diagrams
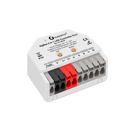
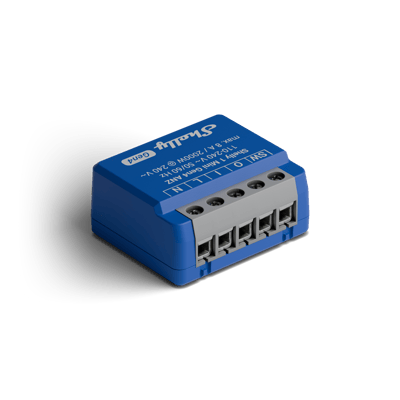
Shelly 1 Mini Gen4 and Gen3 wiring diagram
How to wire a Shelly 1 Mini to switch a light or appliance, or to pulse a garage door opener through its dry contact.
Wiring diagrams
230 V~ 50 HzShelly 1 Mini Gen4
Circuit overview
1Light / appliance2Wall switch
Active (supply)Neutral / 0 VSwitched loadSwitch signal / dry contact
In Australia, fixed 230 V wiring is licensed-electrician work. Use these diagrams to plan the job and brief your electrician.
Showing the whole circuit
Every job, terminal by terminal
The Shelly 1 Mini Gen3 is wired the same way as the Shelly 1 Mini Gen4.
-
Switch a light or appliance
One circuit, switched through O
Mains comes in on L and N, a short bridge feeds the relay input, and O carries the switched active out to the light. The existing wall switch lands on SW, so the physical switch keeps working alongside the app.
Terminals for switch a light or appliance on the Shelly 1 Mini Gen4 Terminal What it does here L 230 V active in N Neutral in I Relay feed, bridged from L O Switched active out to the light or appliance SW Existing wall switch Supply: 230 V~ 50 Hz
-
Pulse a garage door opener
Dry contact to the opener's trigger input
The opener only needs a brief contact closure across its trigger terminals, so O and I run as a dry contact, with no mains passing through them. L and N just power the relay. The push button on SW carries mains, so use a mains-rated button. In the Shelly app, turn on Auto off for the output with a short delay.
Terminals for pulse a garage door opener on the Shelly 1 Mini Gen4 Terminal What it does here O Dry contact, one opener trigger terminal I Dry contact, the other trigger terminal SW Optional push button, mains-rated L 230 V active in, powers the relay only N Neutral in Supply: 230 V~ 50 Hz
More wiring diagrams
Still need a hand?
We answer most messages within one business day. If your question is about an existing order, have your order number ready. It speeds things up.
Contact us