
















Dimmers Shelly wiring diagrams
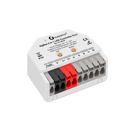
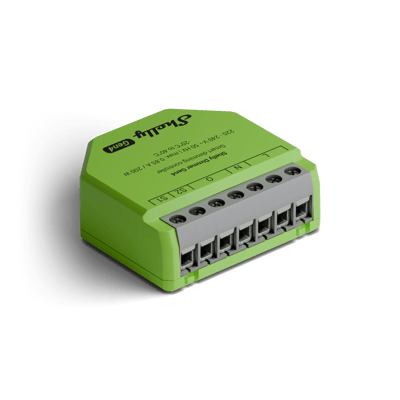
Shelly Dimmer Gen4 and Gen3 wiring diagram
How to wire a Shelly Dimmer to dim a light, with a push button on S1 that switches with a press and dims while held.
Wiring diagrams
230 V~ 50 HzShelly Dimmer Gen4
Circuit overview
1Dimmable light2Push button
Active (supply)Neutral / 0 VSwitched loadSwitch signal / dry contact
In Australia, fixed 230 V wiring is licensed-electrician work. Use these diagrams to plan the job and brief your electrician.
Showing the whole circuit
How it's wired, terminal by terminal
The Shelly Dimmer Gen3 is wired the same way as the Shelly Dimmer Gen4.
-
Dim a light
One dimmed circuit, with a button on S1
Mains comes in on L and N, and O carries the dimmed active out to the light. A push button on S1 switches the light with a press and dims it while held. Dimmable lights only, up to 150 W of LED or 200 W of incandescent or halogen.
Terminals for dim a light on the Shelly Dimmer Gen4 Terminal What it does here L 230 V active in (either L terminal) N Neutral in O Dimmed active out to the light (either O terminal) S1 Push button: press to switch, hold to dim S2 Second switch or button input Supply: 230 V~ 50 Hz
More wiring diagrams
Still need a hand?
We answer most messages within one business day. If your question is about an existing order, have your order number ready. It speeds things up.
Contact us