













On this page
- Key takeaways
- What the hardware actually has to do
- Home Assistant Green, the easy way in
- Home Assistant Yellow, buy carefully
- Raspberry Pi, build it yourself
- Mini PC or NUC, for heavier setups
- Running it as a virtual machine
- The radios you'll need on top
- What it costs to get started
- Frequently asked questions
Buying guide Ecosystems
Best hardware for a Home Assistant hub
Home Assistant doesn't come with its own hardware. Here's how to choose between Home Assistant Green, a Raspberry Pi and a mini PC, and which radios you'll need on top.
Home Assistant isn't a box you buy off the shelf the way Apple Home or Google Home is. It's software, and you choose what it runs on. That's the whole appeal for a lot of people: you're not locked to one manufacturer's hardware or roadmap. It also means the first real decision in setting one up isn't which sensors to buy, it's what to run it on.
What the hardware actually has to do
A Home Assistant box is really a small, always-on computer. It needs to run continuously, hold a database that grows as automations and sensor history pile up, and (unless you buy an all-in-one) talk to your Zigbee, Z-Wave or Thread devices over a USB radio. None of that needs much grunt for a starter setup. It adds up fast once you're running a camera integration, a big device mesh or several add-ons at once. Compare that with a general-purpose smart home hub: most hubs are closed appliances built for one job. Home Assistant hardware is the opposite: open, and yours to size for what you actually run.
 Green Home Assistant Most popular
 - Best for
- Beginners who want zero setup
- Radios included
- None, USB dongle needed
- RAM / storage
- 4GB RAM / 32GB eMMC (fixed)
- Price (AUD)
- From around $279 (varies by AU retailer)
 Yellow Home Assistant, discontinued
 - Best for
- Enthusiasts who already have stock
- Radios included
- Zigbee or Thread, one at a time
- RAM / storage
- Depends on the CM4 module you supply
- Price (AUD)
- Varies a lot now it's discontinued; shop carefully
 Raspberry Pi 5 DIY build
 - Best for
- DIYers who want to build it themselves
- Radios included
- None, USB dongle needed
- RAM / storage
- 4-8GB RAM / SSD recommended
- Price (AUD)
- Roughly $250 to $400 all-in
 Mini PC N100-class
 - Best for
- Big installs, Frigate, many integrations
- Radios included
- None, USB dongle needed
- RAM / storage
- 8-16GB RAM / SSD
- Price (AUD)
- Roughly $260 to $450
How the main ways to run Home Assistant compare.
Home Assistant Green, the easy way in
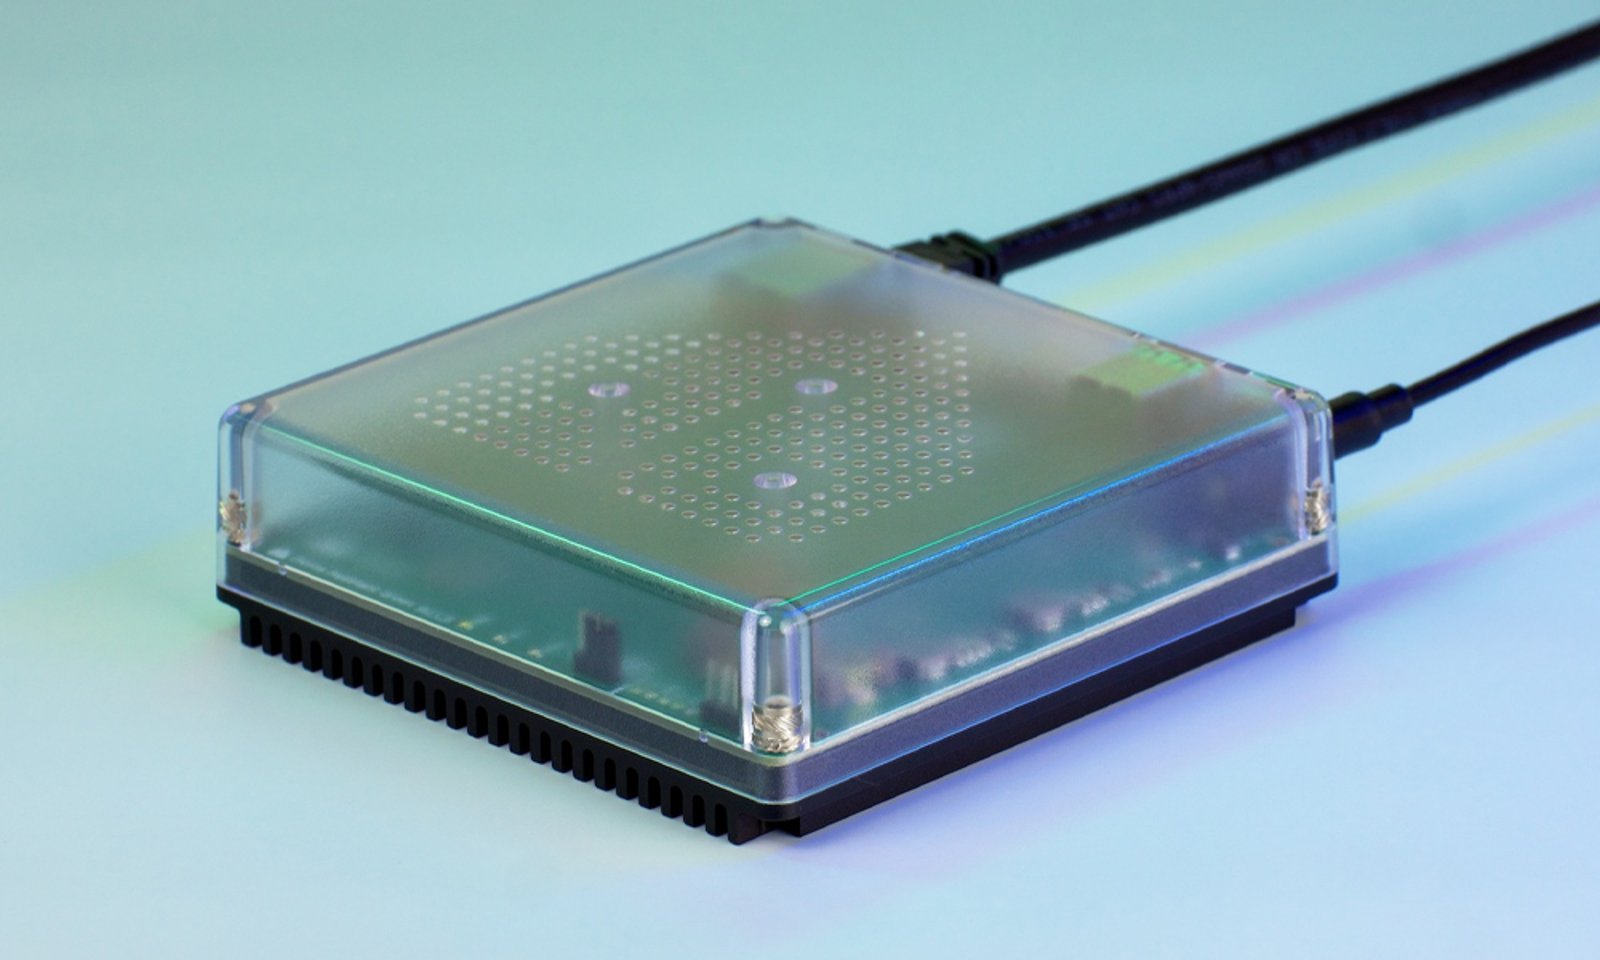
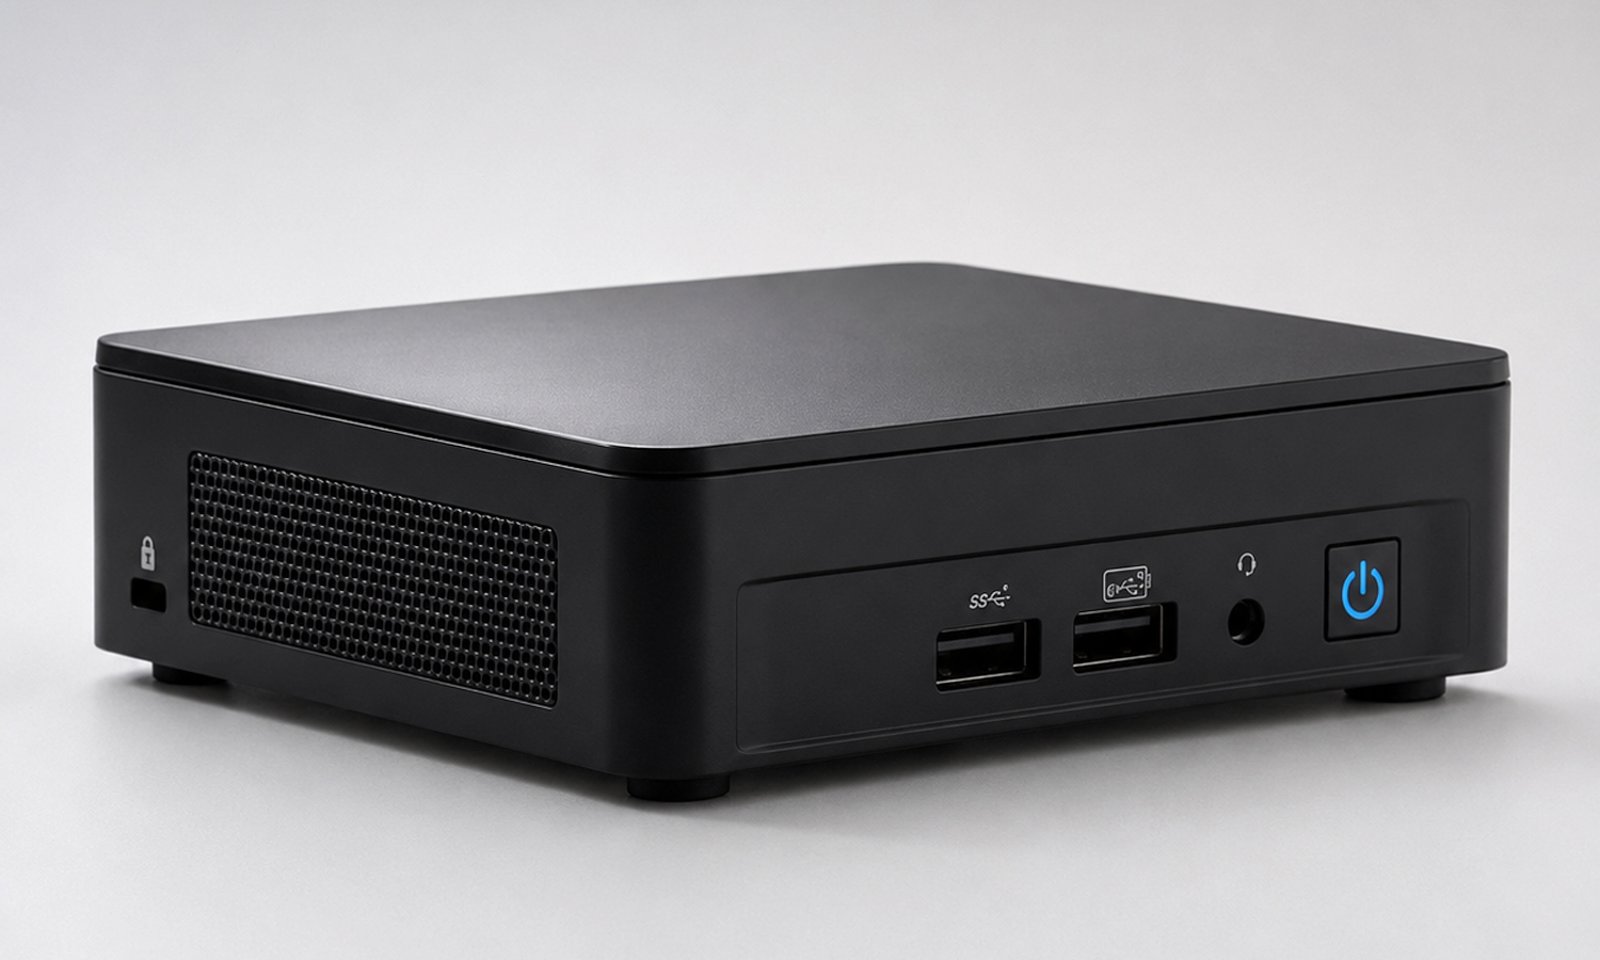
Home Assistant Green is Nabu Casa's own appliance, and it's now the default recommendation for anyone starting out. It's a small, fanless box: a quad-core ARM processor, 4GB of RAM and 32GB of built-in eMMC storage, running completely silently with no moving parts. Plug in Ethernet and power and you're inside the setup wizard in about 15 minutes.
The trade-off is fixed hardware. There's no expansion slot and the 32GB of storage can't be upgraded later, so it's built to be used as-is rather than grown into. It also has no built-in Zigbee, Thread or Z-Wave radio. Despite what you might read elsewhere, Green ships Ethernet-only with two USB-A ports for adding your own dongles, covered below.
Home Assistant Yellow, buy carefully
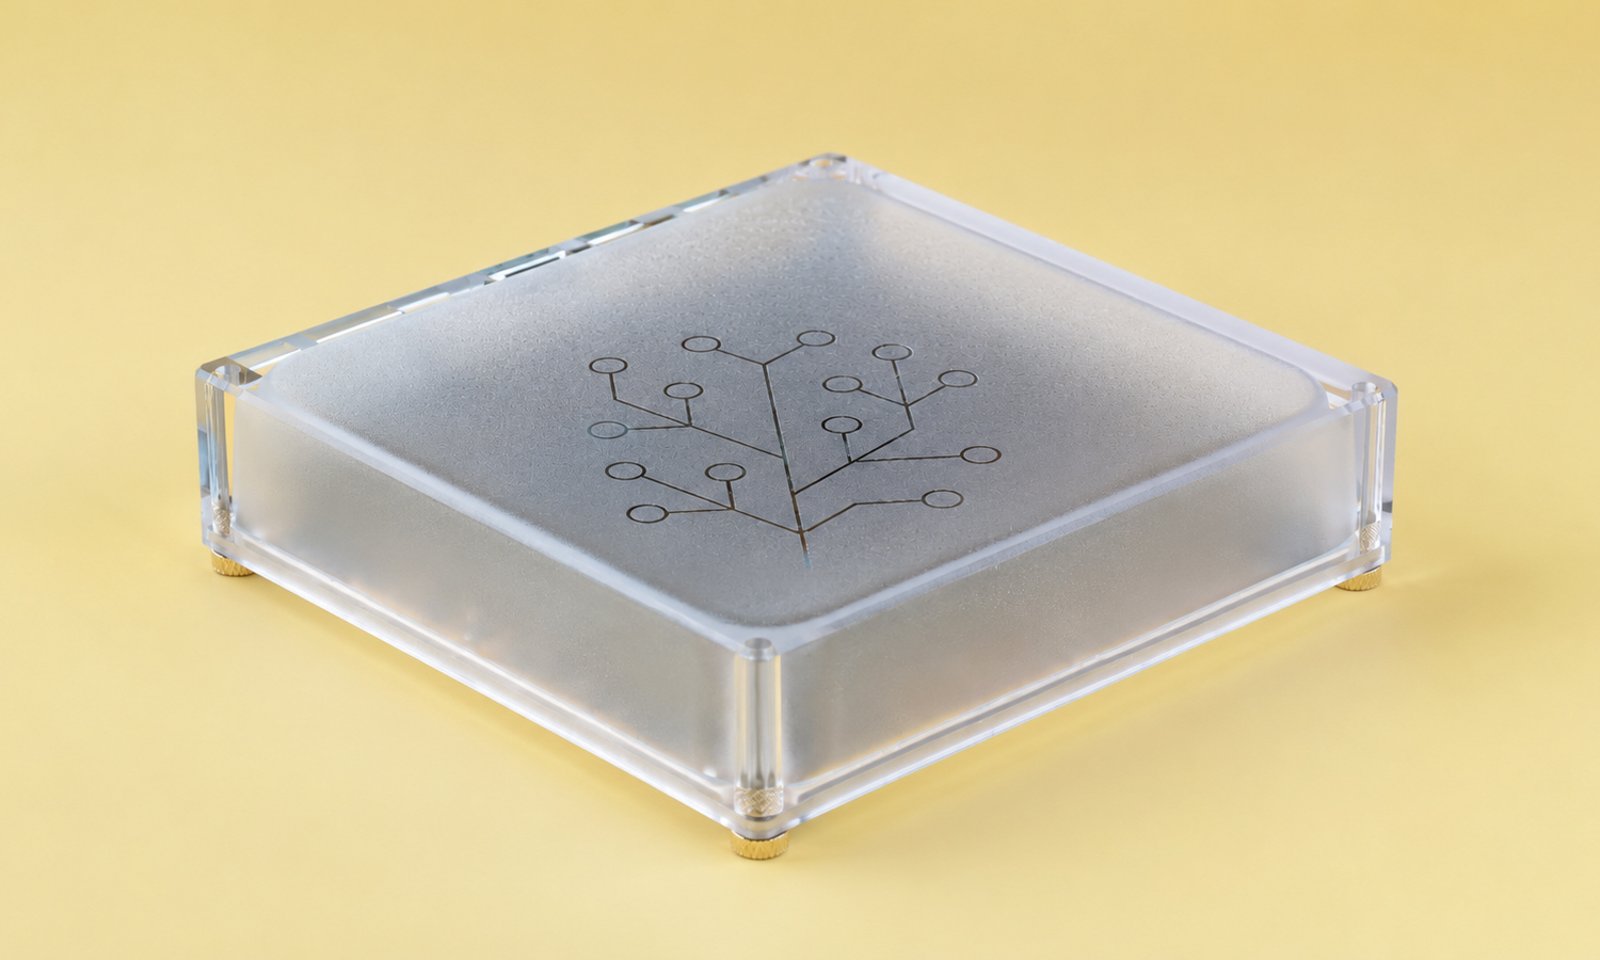
Home Assistant Yellow was the enthusiast option: a board built around a Raspberry Pi Compute Module 4 that you source and flash yourself, with a Zigbee radio built in (re-flashable to Thread instead, though not both at once) and an optional Power-over-Ethernet kit.
Raspberry Pi, build it yourself
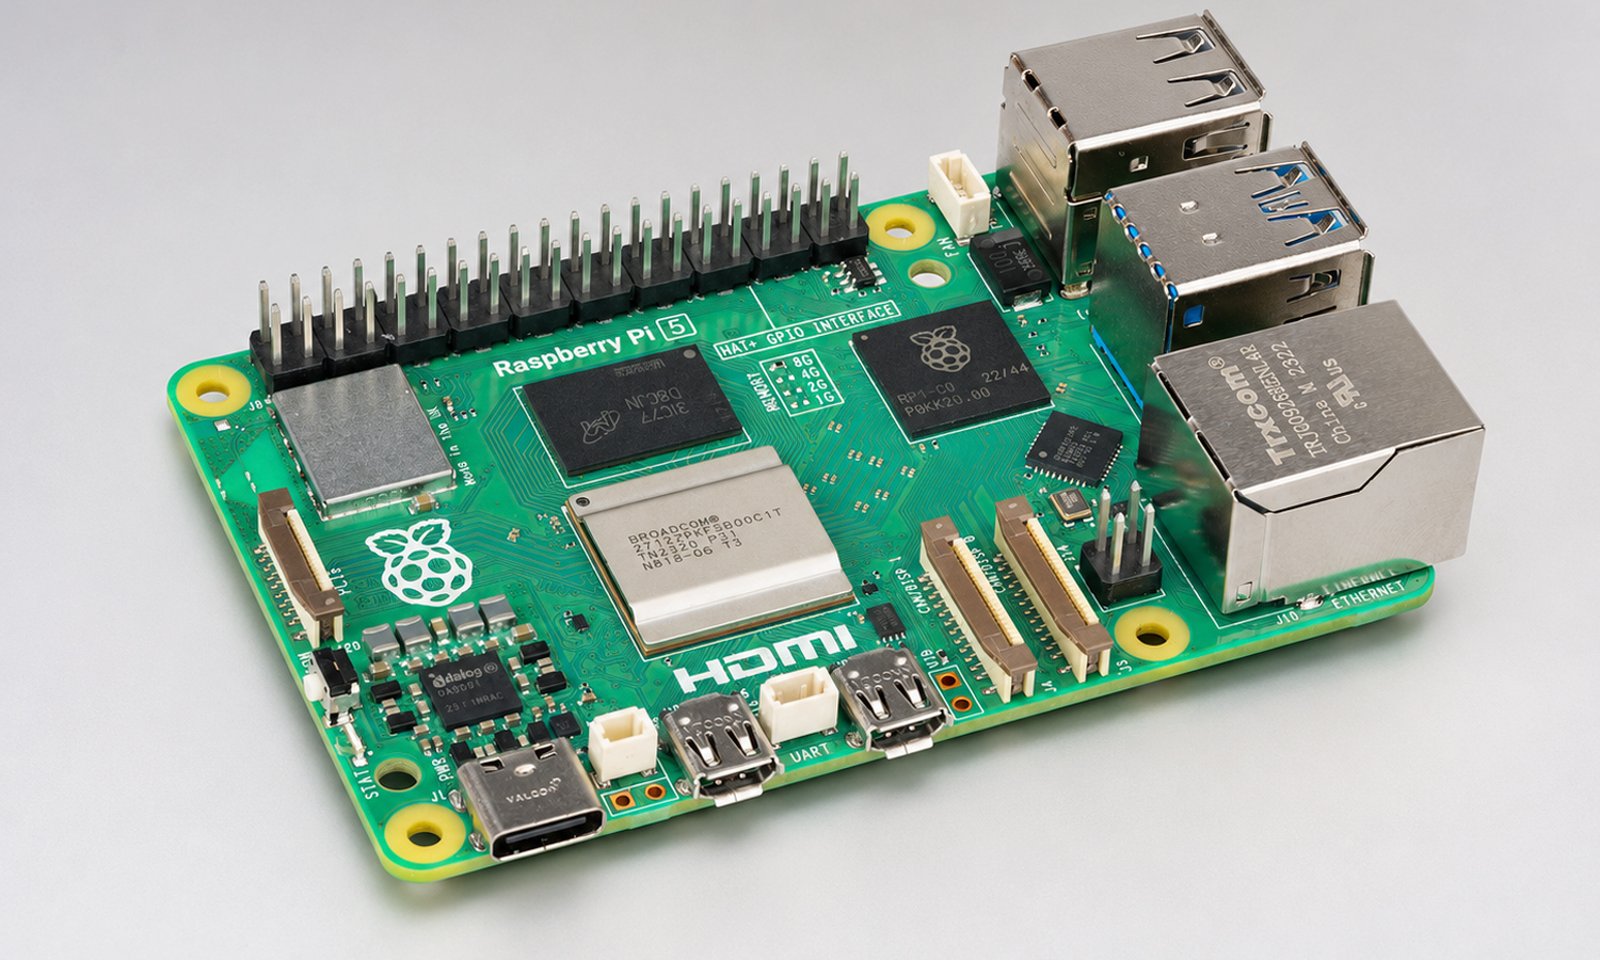
A Raspberry Pi is still the classic way to run Home Assistant, and it's the cheapest path if you already own one. Home Assistant's own install guide asks for a minimum of 2GB RAM, though most people find 4GB or 8GB gives more comfortable headroom once automations, history and a few add-ons pile up.
The one change worth making from the default setup: boot from a USB SSD instead of a microSD card. Home Assistant writes to storage constantly, logging sensor states and history, and microSD cards wear out faster under that kind of continuous load. An SSD costs a little more up front and holds up far better over years of use.
Whichever Pi you use, it has no Zigbee, Thread or Z-Wave radio built in, so budget for a USB dongle on top.
Mini PC or NUC, for heavier setups
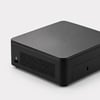
If you're running Frigate for local camera AI, a large Zigbee or Z-Wave mesh, or a long list of integrations and add-ons, a small x86 mini PC gives you the CPU and RAM that Green and the Pi don't have room for. Home Assistant's install guide lists a generic x86-64 machine as a fully supported target, not a workaround. N100-class mini PCs are the sweet spot: enough performance for heavy workloads, low power draw for something that runs 24/7, and reliable SSD storage as standard.
Running it as a virtual machine
If you already run a home server or Proxmox box, Home Assistant OS installs as a virtual machine too, officially supported alongside single-board computers. It's worth knowing about, but it's an advanced path: passing a USB Zigbee or Z-Wave dongle through to a VM works, but it isn't automatic, and the device can need reconfiguring if you unplug and replug it. Stick to dedicated hardware unless you're already comfortable running a hypervisor.
The radios you'll need on top
Whichever box you choose (Green, Yellow, a Pi or a mini PC) none of them talk Zigbee, Thread or Z-Wave without extra hardware, except Yellow's single built-in radio. Nabu Casa's own Home Assistant Connect ZBT-2 covers Zigbee and Thread on one USB stick, though not at the same time: each protocol needs its own firmware for reliability. For Z-Wave, the Home Assistant Connect ZWA-2 is the current recommended adapter. One practical tip: plug these into a USB 2.0 port or use a short extension cable. USB 3.0 ports are a known source of 2.4GHz interference for Zigbee and Thread dongles.
What it costs to get started
Three realistic starting points, cheapest and simplest first.
Plug-and-play Most popular
Zero assembly, zero maintenance
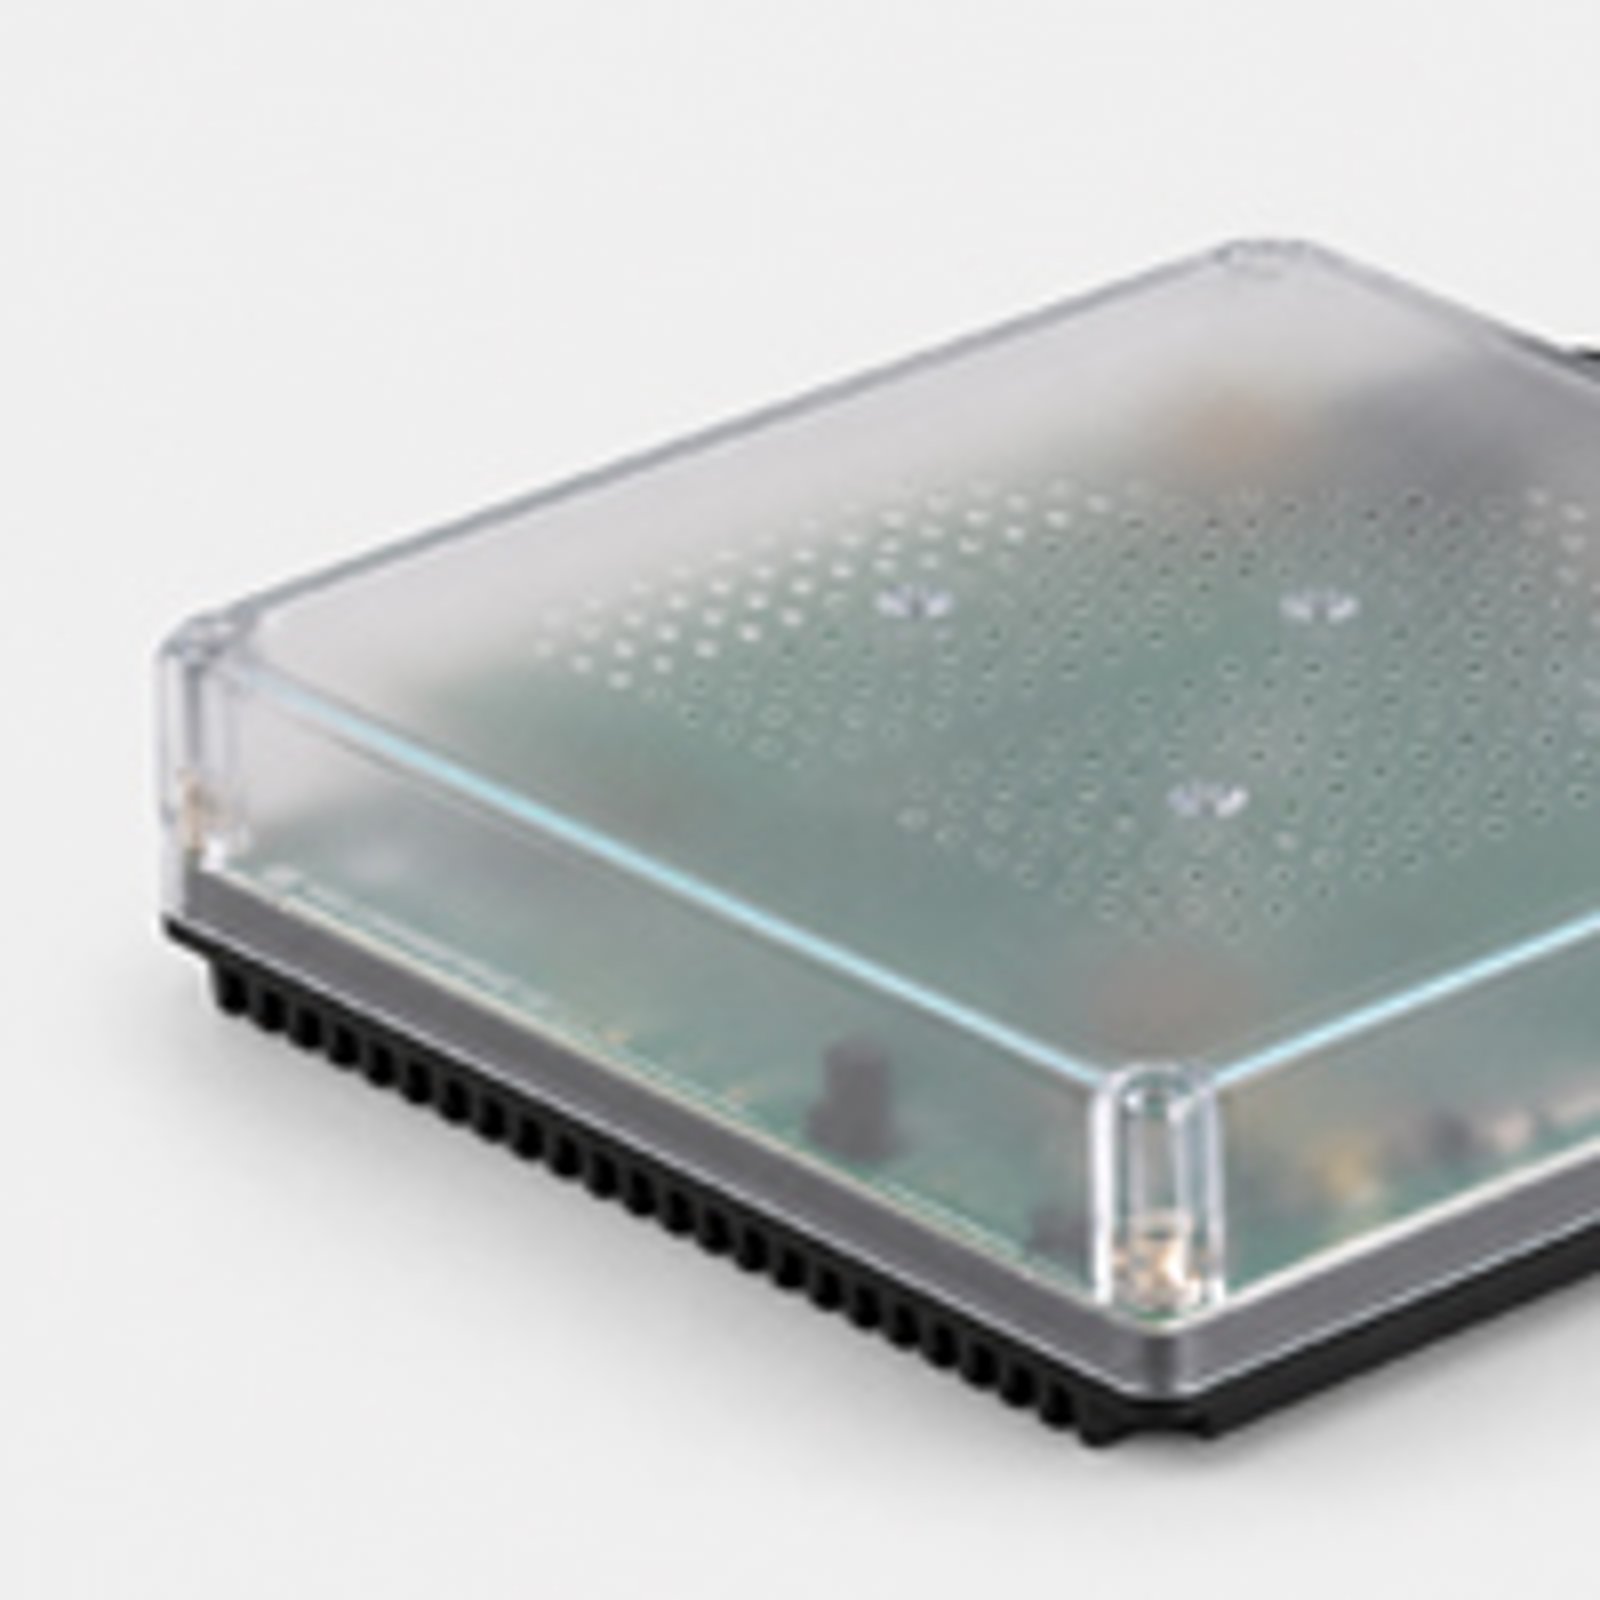
- Home Assistant Green 4GB RAM, 32GB storage, silent and fanless. Price varies by Australian retailer. Where to buyfrom $279
DIY tinkerer
Build it yourself, keep it upgradable
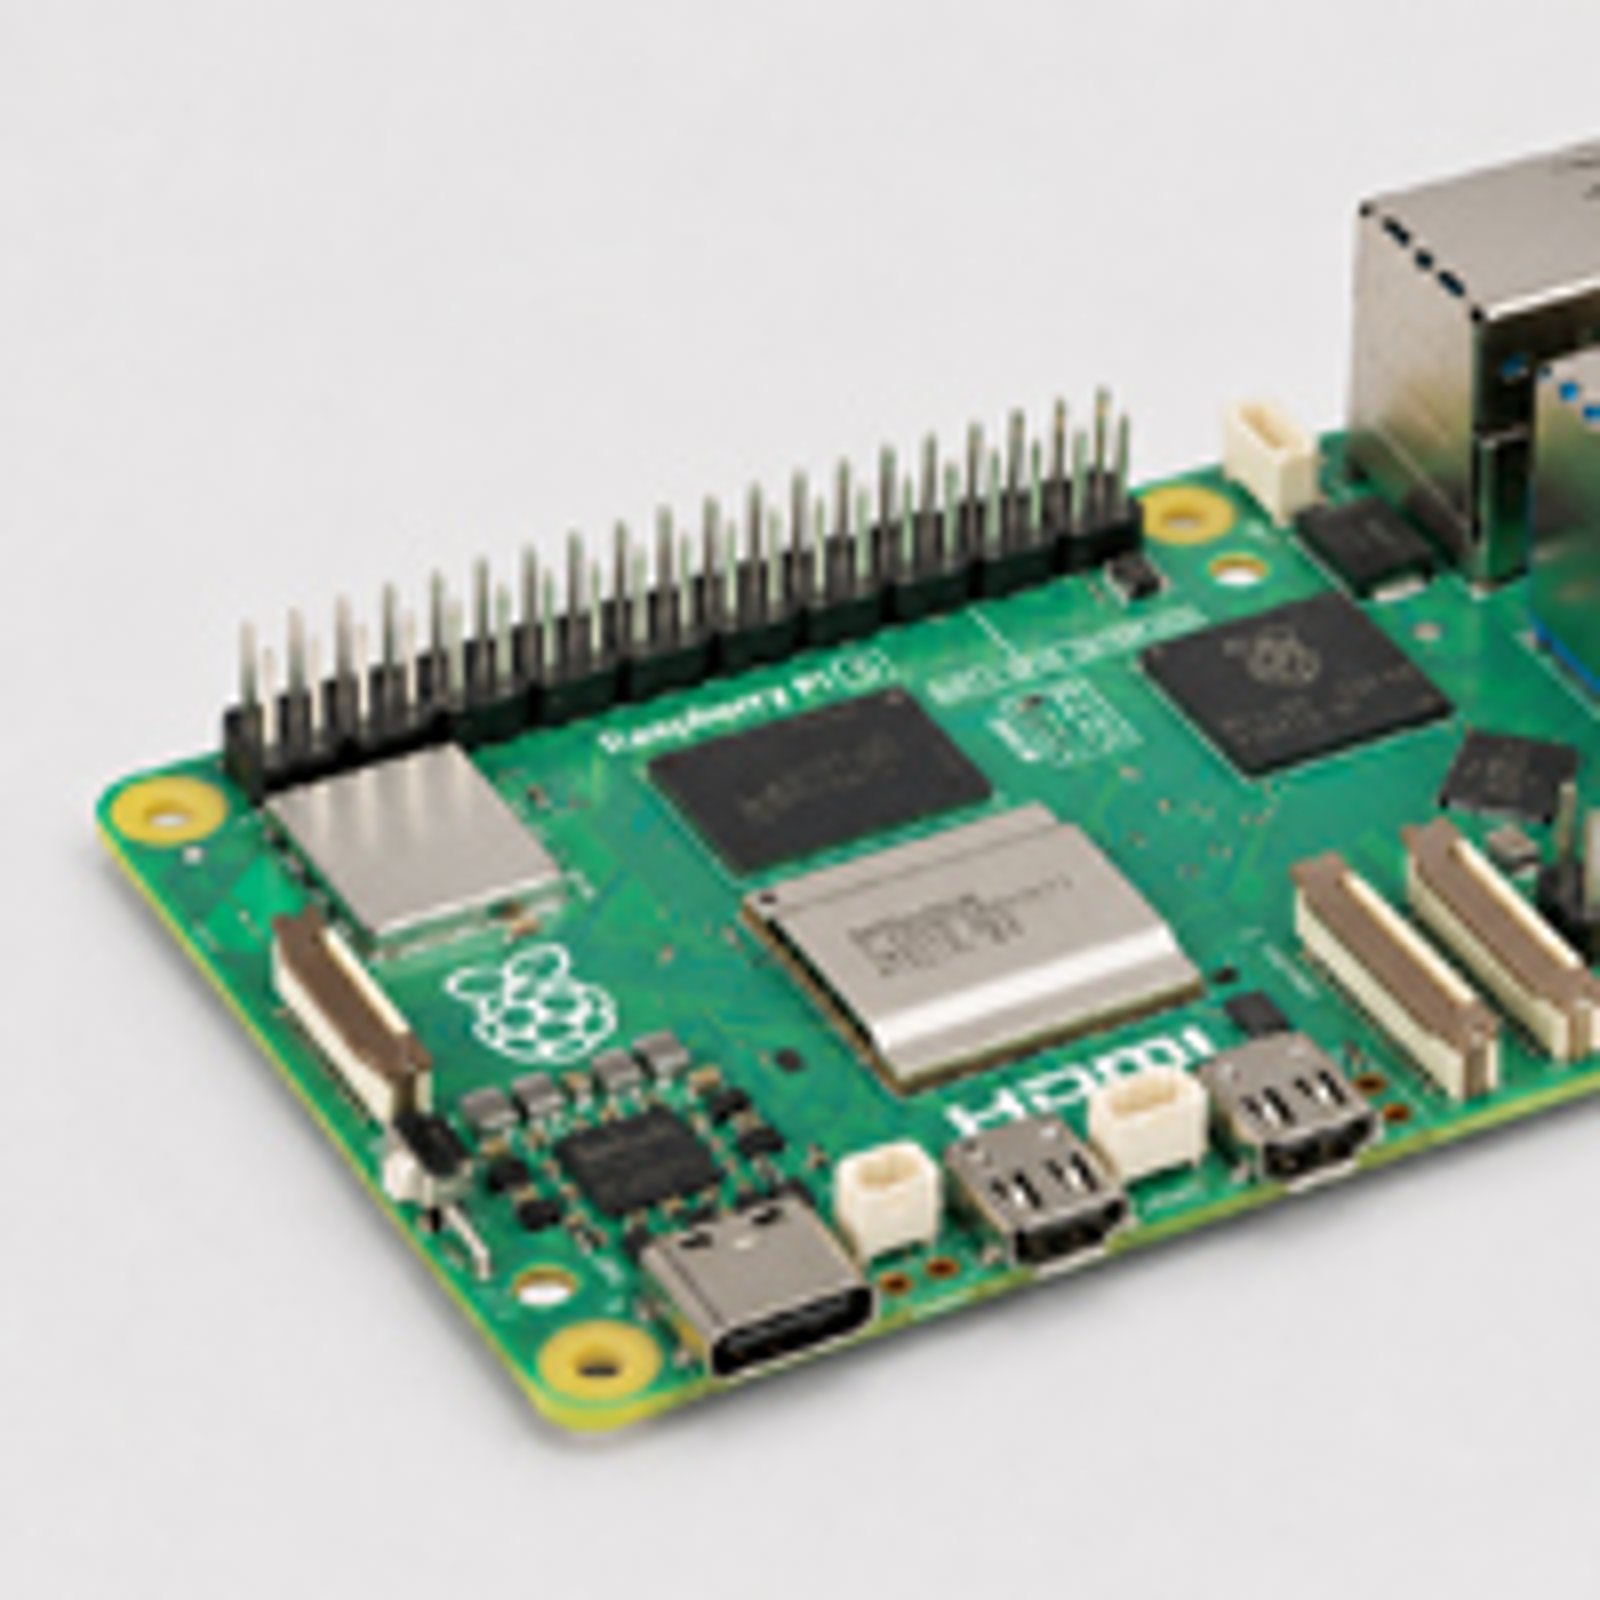
- Raspberry Pi 5 with case, PSU and USB SSD Boot from the SSD, not a microSD card, for 24/7 reliability.$250 to $400
Power user
Frigate, a big mesh, dozens of integrations
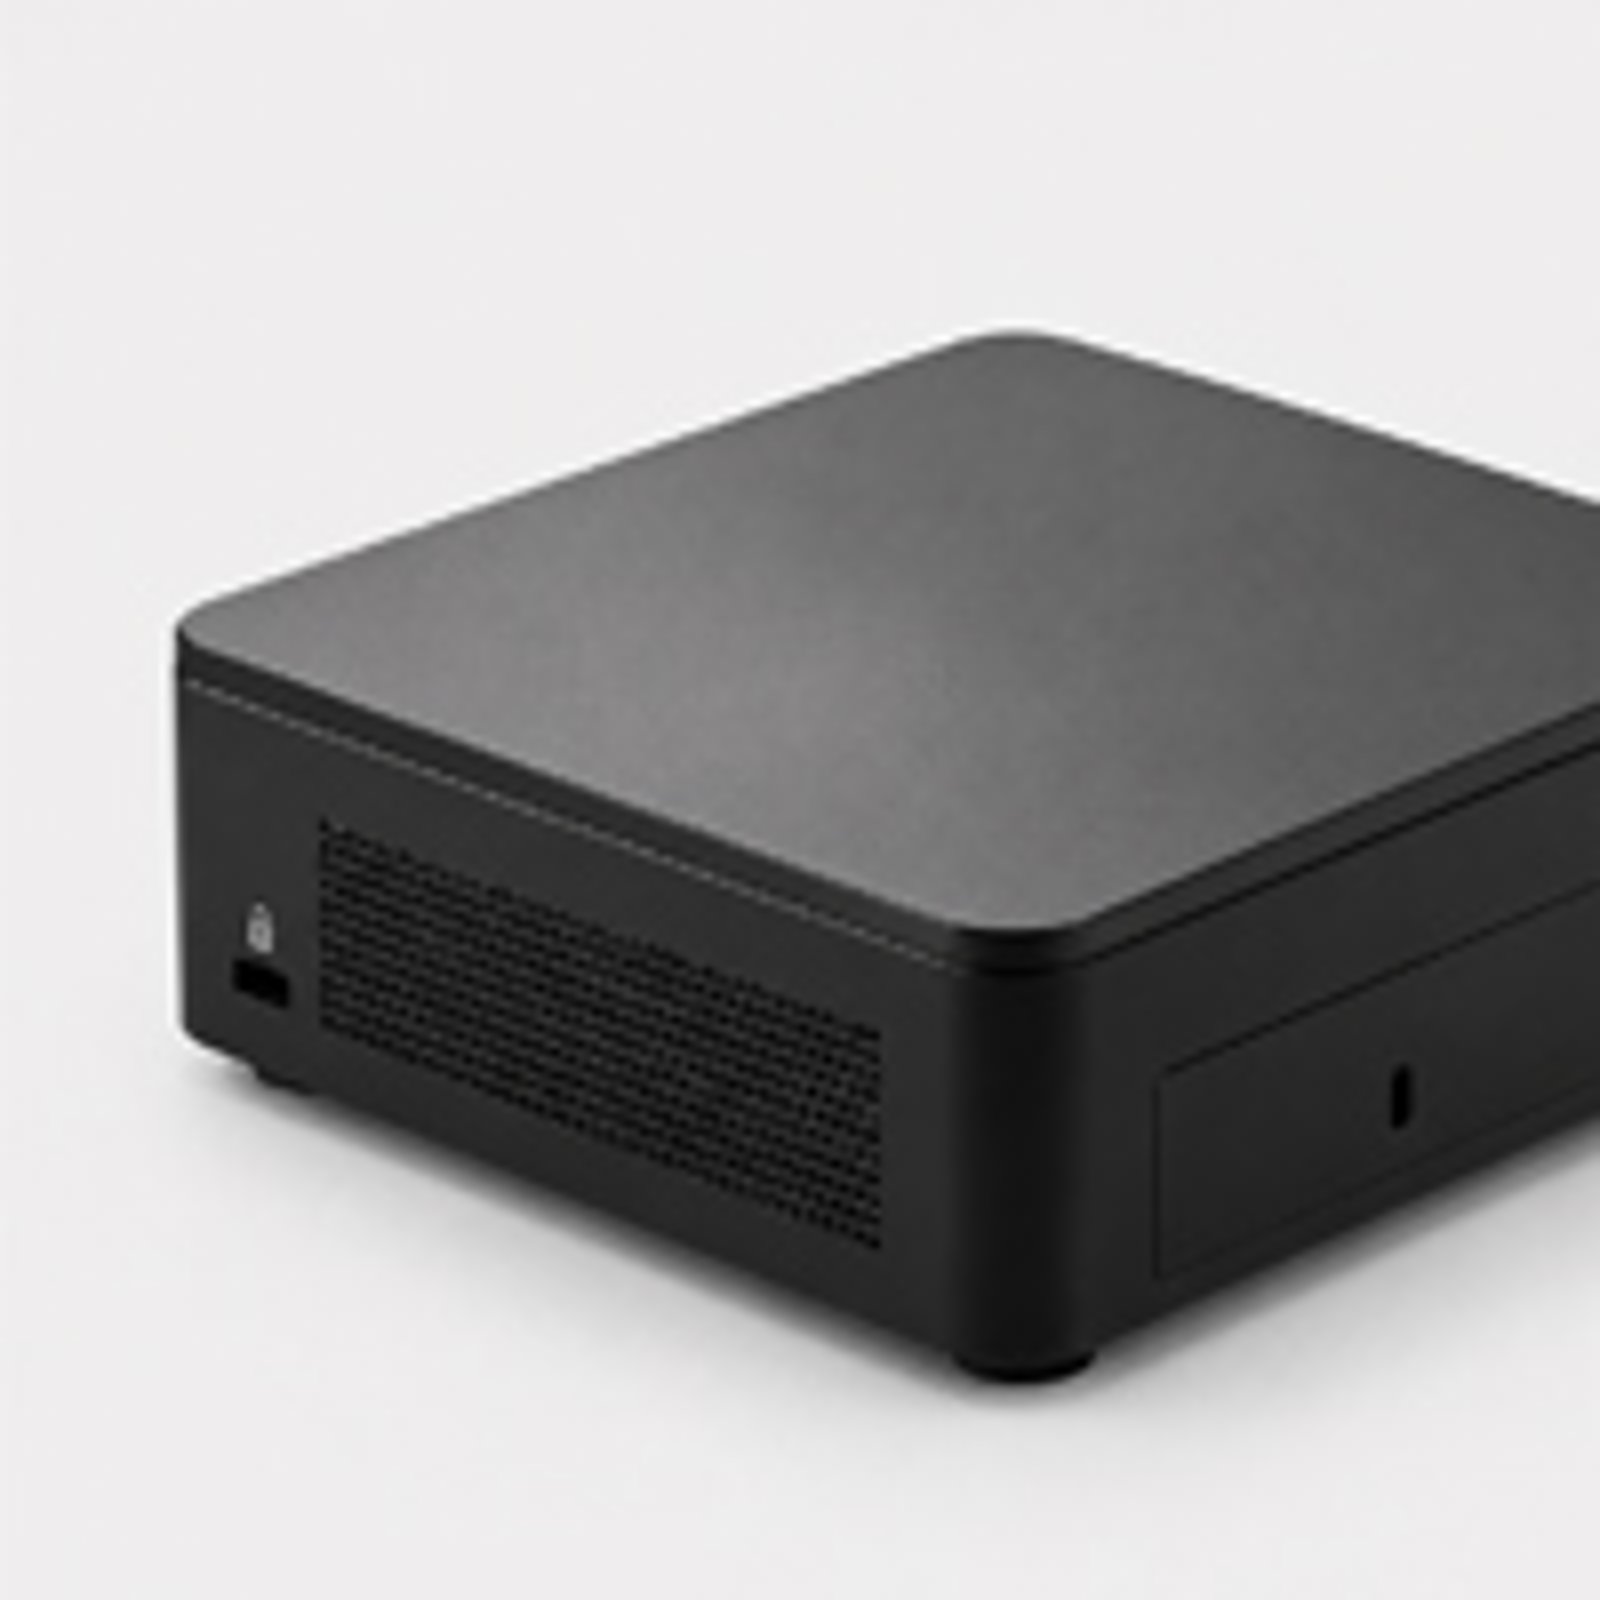
- N100-class mini PC The headroom Green and the Pi don't have, for heavy add-ons and local video AI.$260 to $450
Frequently asked questions
Which hardware is best for Home Assistant?
For most people starting out, Home Assistant Green. It's plug-and-play with no assembly. If you already own a Raspberry Pi, use it (with an SSD, not a microSD card). If you're running heavy add-ons like Frigate or a large device mesh, a small mini PC gives you more room to grow.
Is a Raspberry Pi 5 overkill for Home Assistant?
Not if you plan to grow into it. A basic setup barely touches a Pi 5's performance, but the extra CPU and RAM over a Pi 4 give you real headroom once you add camera integrations, more devices or heavier automations later.
Do you need dedicated hardware to run Home Assistant?
In practice, yes. You can run it on a spare laptop or a NAS, but a small always-on box uses far less power and won't compete for resources with anything else running in your home.
How much RAM does Home Assistant need?
Home Assistant's own guide lists 2GB as the minimum. In practice, 4GB is a safer baseline once you've added a realistic number of devices, automations and a couple of add-ons. Go to 8GB if you're on a mini PC and running heavier workloads.
What OS should I use for Home Assistant?
Home Assistant OS, for most people. It gives you the full experience, including add-ons and easy updates, on any of the hardware above. Home Assistant Container is only worth considering if you're already comfortable managing Docker yourself.
Is Home Assistant Yellow still worth buying?
Only if you find genuine retail stock at a fair price. Nabu Casa ended production in October 2025, so for new purchases, Home Assistant Green or a Raspberry Pi are the better long-term picks.
Still need a hand?
We answer most messages within one business day. If your question is about an existing order, have your order number ready. It speeds things up.
Contact us